Apache Solr 6 Hello World Tutorial- Getting Started with Apache Solr 6
Overview
Apache Solr is an open source search server built upon a Java search library called Lucene. It supports REST like API for performing various operations like update, query etc.Solr Installation
Go to http://lucene.apache.org/solr/downloads.html. From here download the latest version of Apache Solr. The latest version of Apache Solr during writing this tutorial is solr-6.2.0.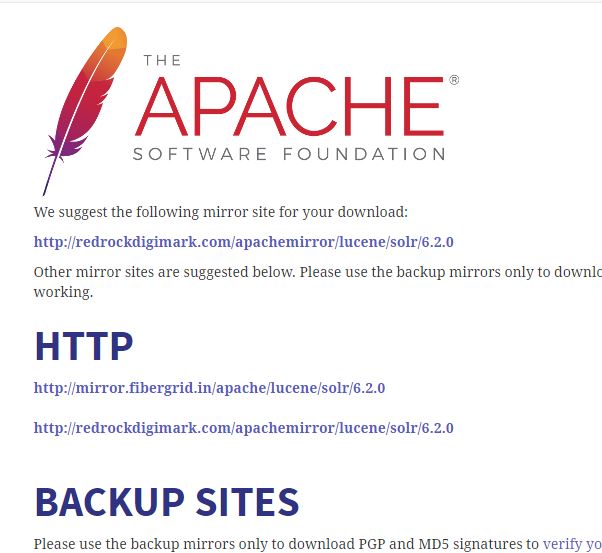
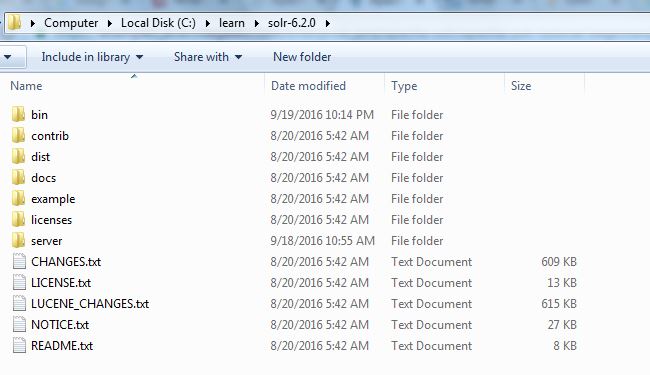
Download the solr-6.2.0.zip. Unzip it and we get a directory named solr-6.2.0 as follows.
Starting Solr-
Go to bin folder and type the command-solr start

Next in the browser go to-localhost:8983
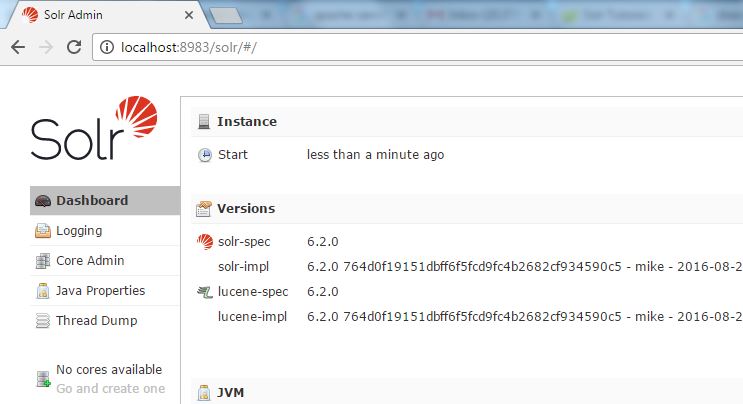
As we can see there are no cores available currently.
Configuring Solr
Creating Core-solr create -c person

Now go to localhost:8983
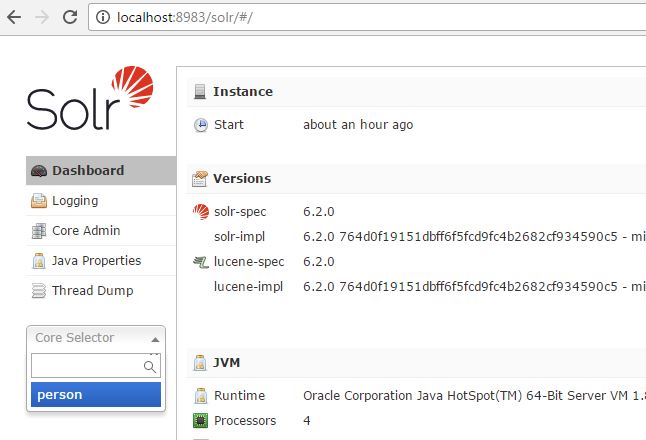
Solr core named person has been created.
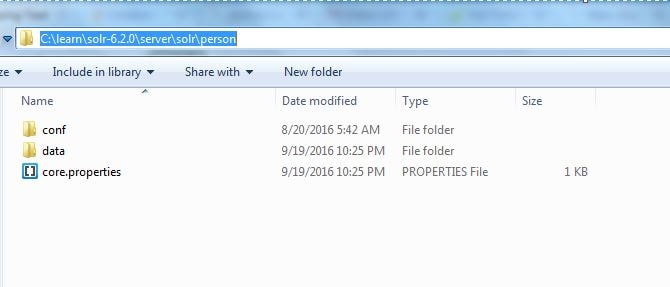
If we go to solr->server folder. A folder named person has been created.
Creating fields for Indexing Document-
We will now index a simple document for the newly created core person to apache solr. For this we will have to create the corresponding fields in Solr. This can be achieved in 2 ways-
- Using Solr UI.(which modifies the managed-schema.xml by adding fields to it)
- Adding a new schema.xml
a. Using Solr UI.(which modifies the managed-schema.xml by adding fields to it)-
Select the newly created core named Person and then select the schema option. We will get the screen with Add Fields, Add Dynamic Field, Add Copy Field. Click on Add Field button. Enter the details as below and click add field.
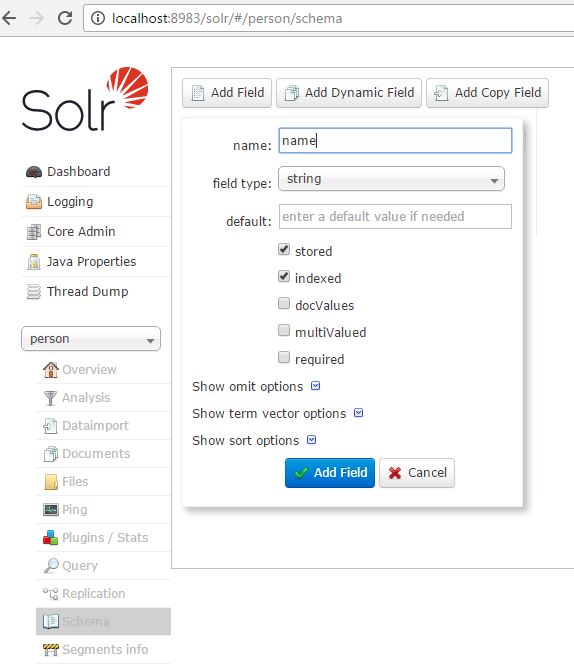
Similarly add field age which will be int. So these two fields get added to managed-schema.xml.
b. Adding a new schema.xml-
You can create a new schema file with the required fields and add it to the location solr-6.2.0\server\solr\person\conf folder. Our Schema.xml will be as follows-
<schema name="simple" version="1.1">
 <field name="name" type="string" indexed="true" stored="true"/>
 <field name="age" type="int" indexed="true" stored="true"/>
</schema>
Indexing Document-
Now that the fields have been added by using either of the two methods mentioned above, we will index the document. We will create a new test.xml file which contains the person data to be indexed.
<add>
<doc>
<field name = 'name'>tester</field>
<field name = 'age'>30</field>
</doc>
<doc>
<field name = 'name'>developer</field>
<field name = 'age'>32</field>
</doc>
</add>
For this we will make use of a client provided by solr post.jar located in solr-6.2.0\example\exampledocs folder. So copy the above document to be indexed in the folder solr-6.2.0\example\exampledocs. Use the command-
java -Dc="person" -jar post.jar test.xml

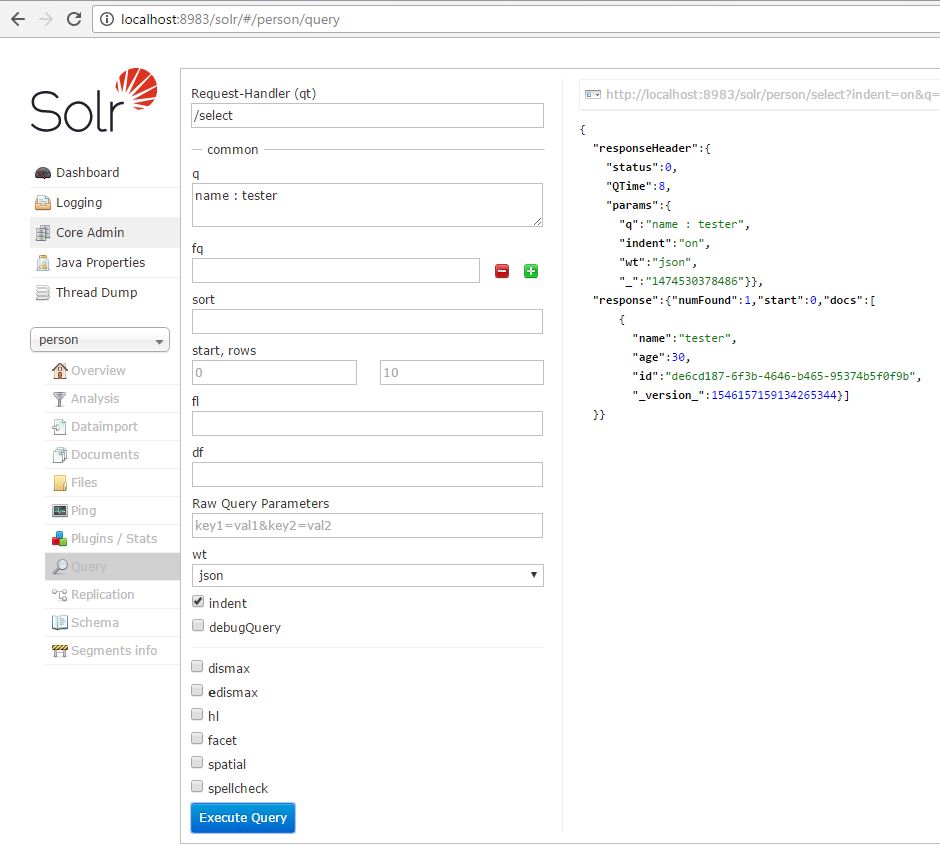
Now the data has been indexed. We can test this by selecting the query option for the core person- in the query box put the query as name : tester
See Also
Discontinuation of Google Search Appliance- Finding the best Alternative.